Which Side Up?

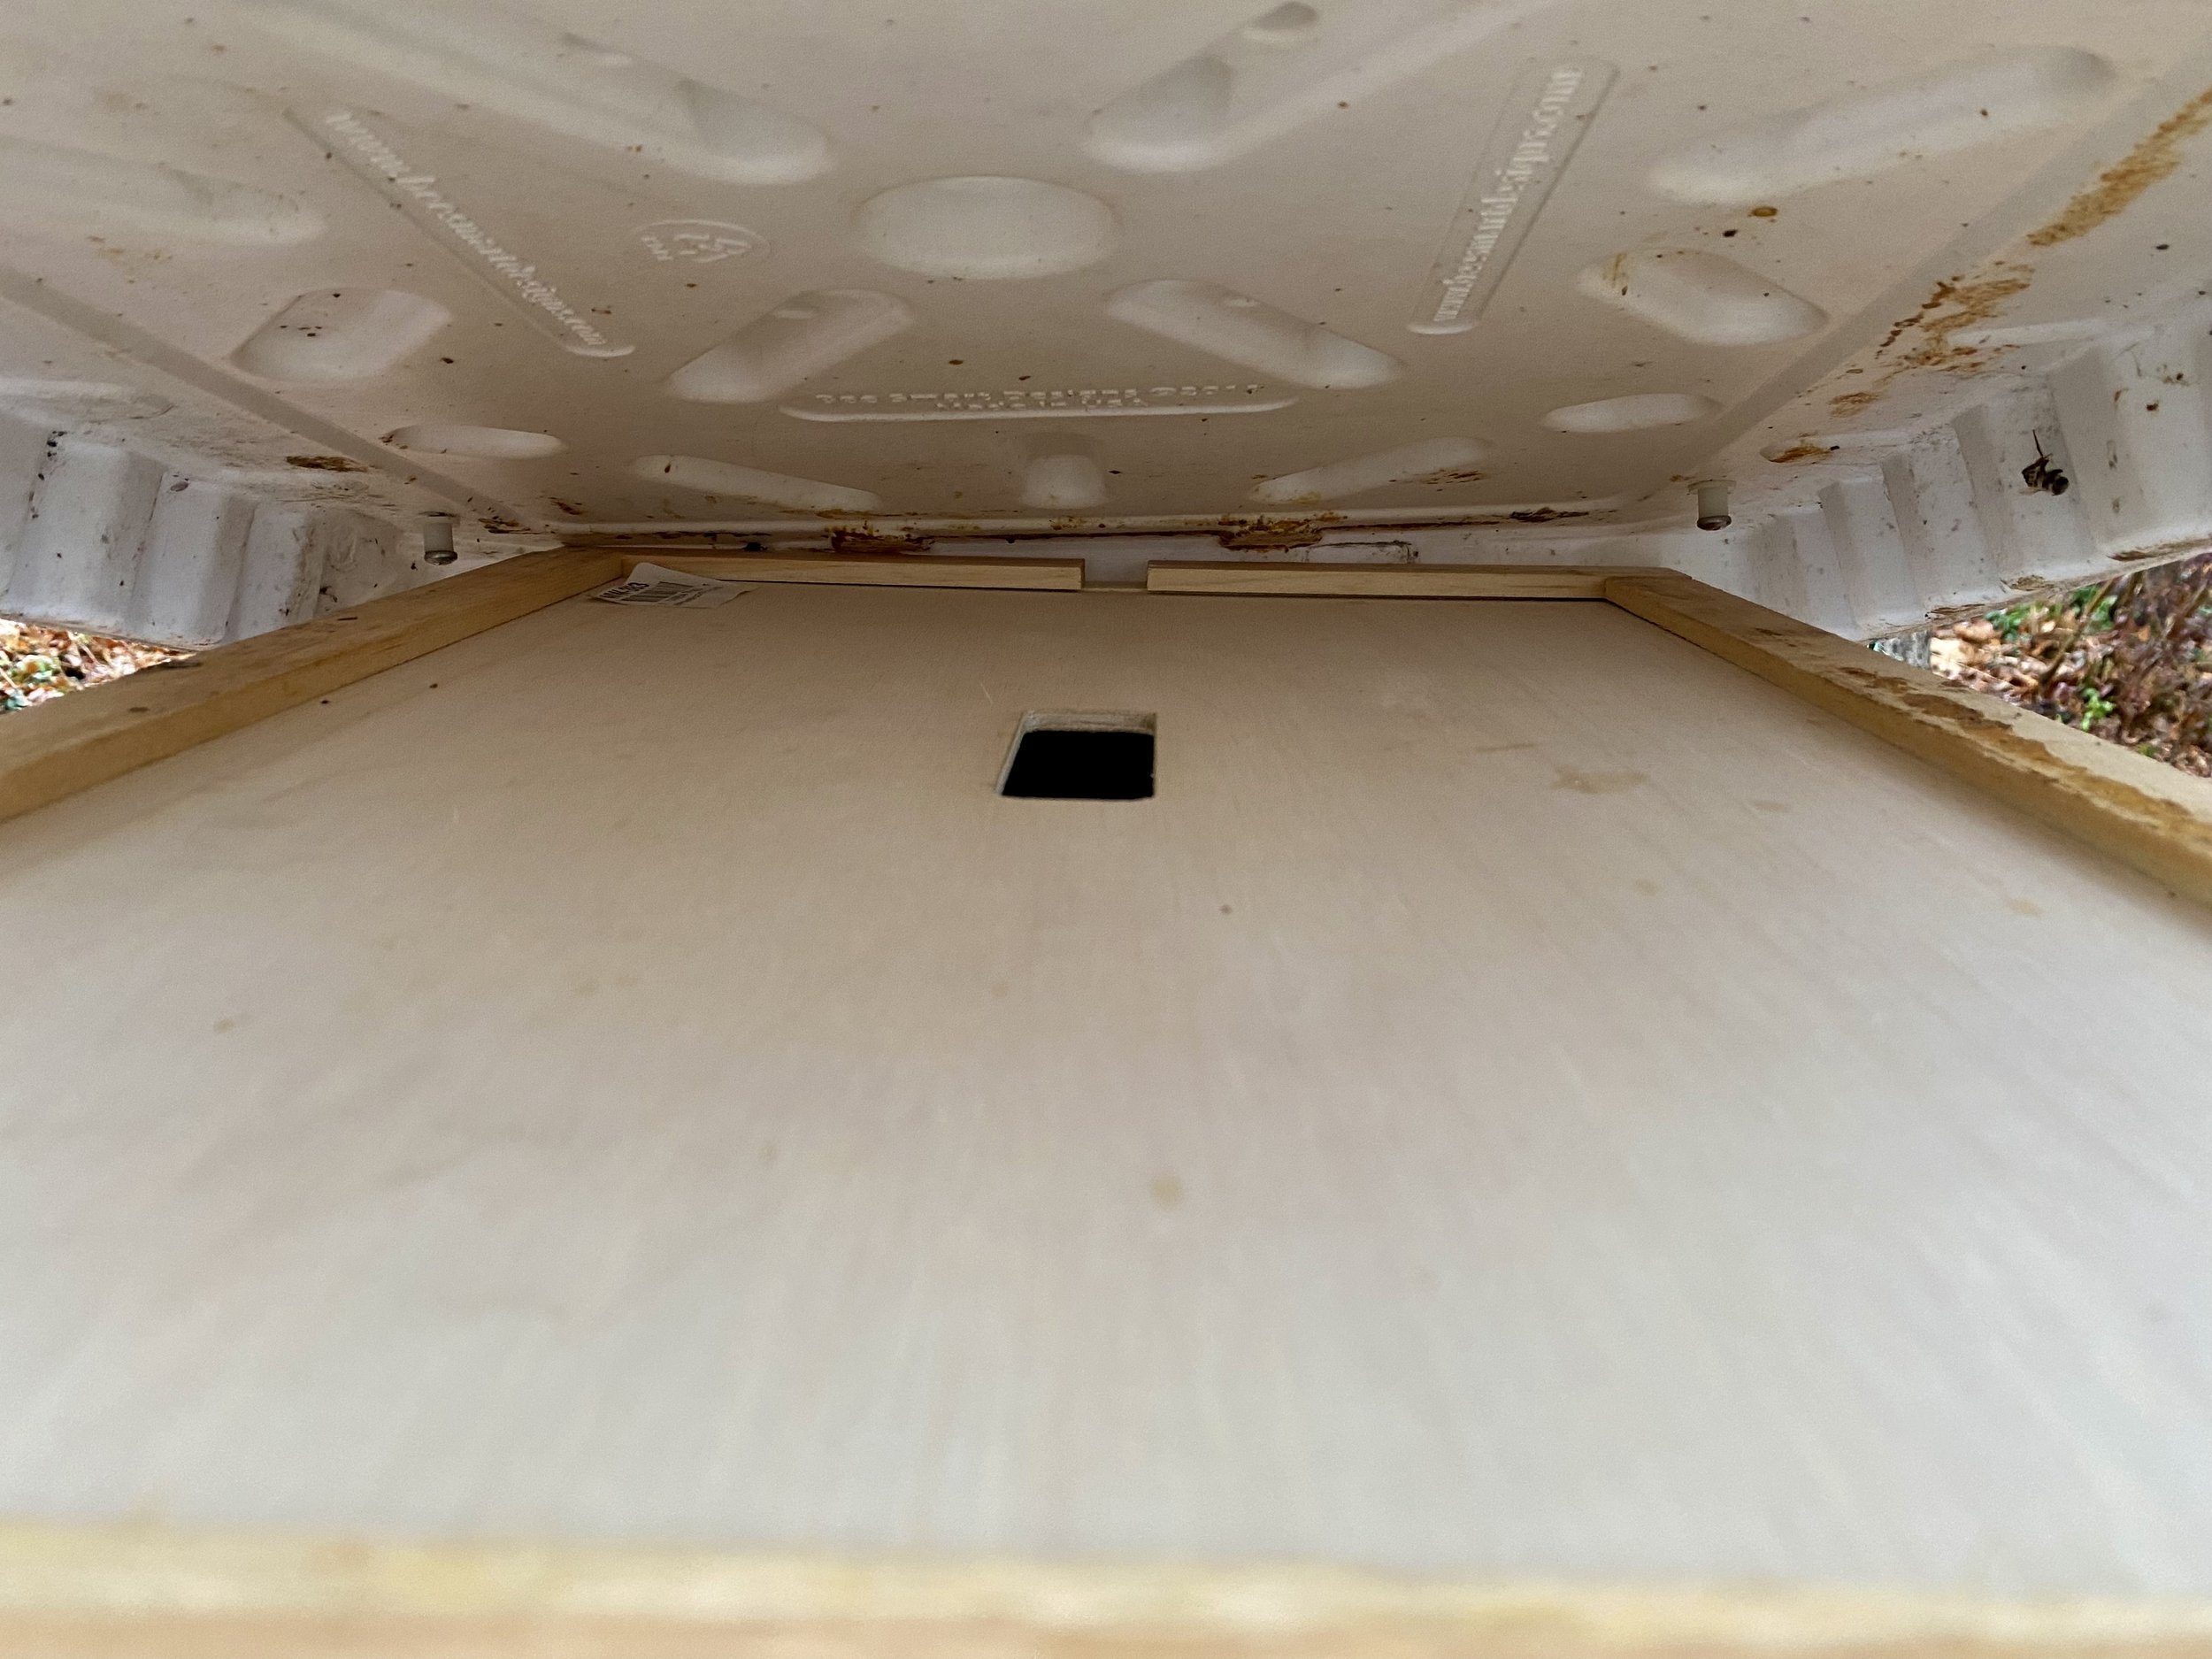
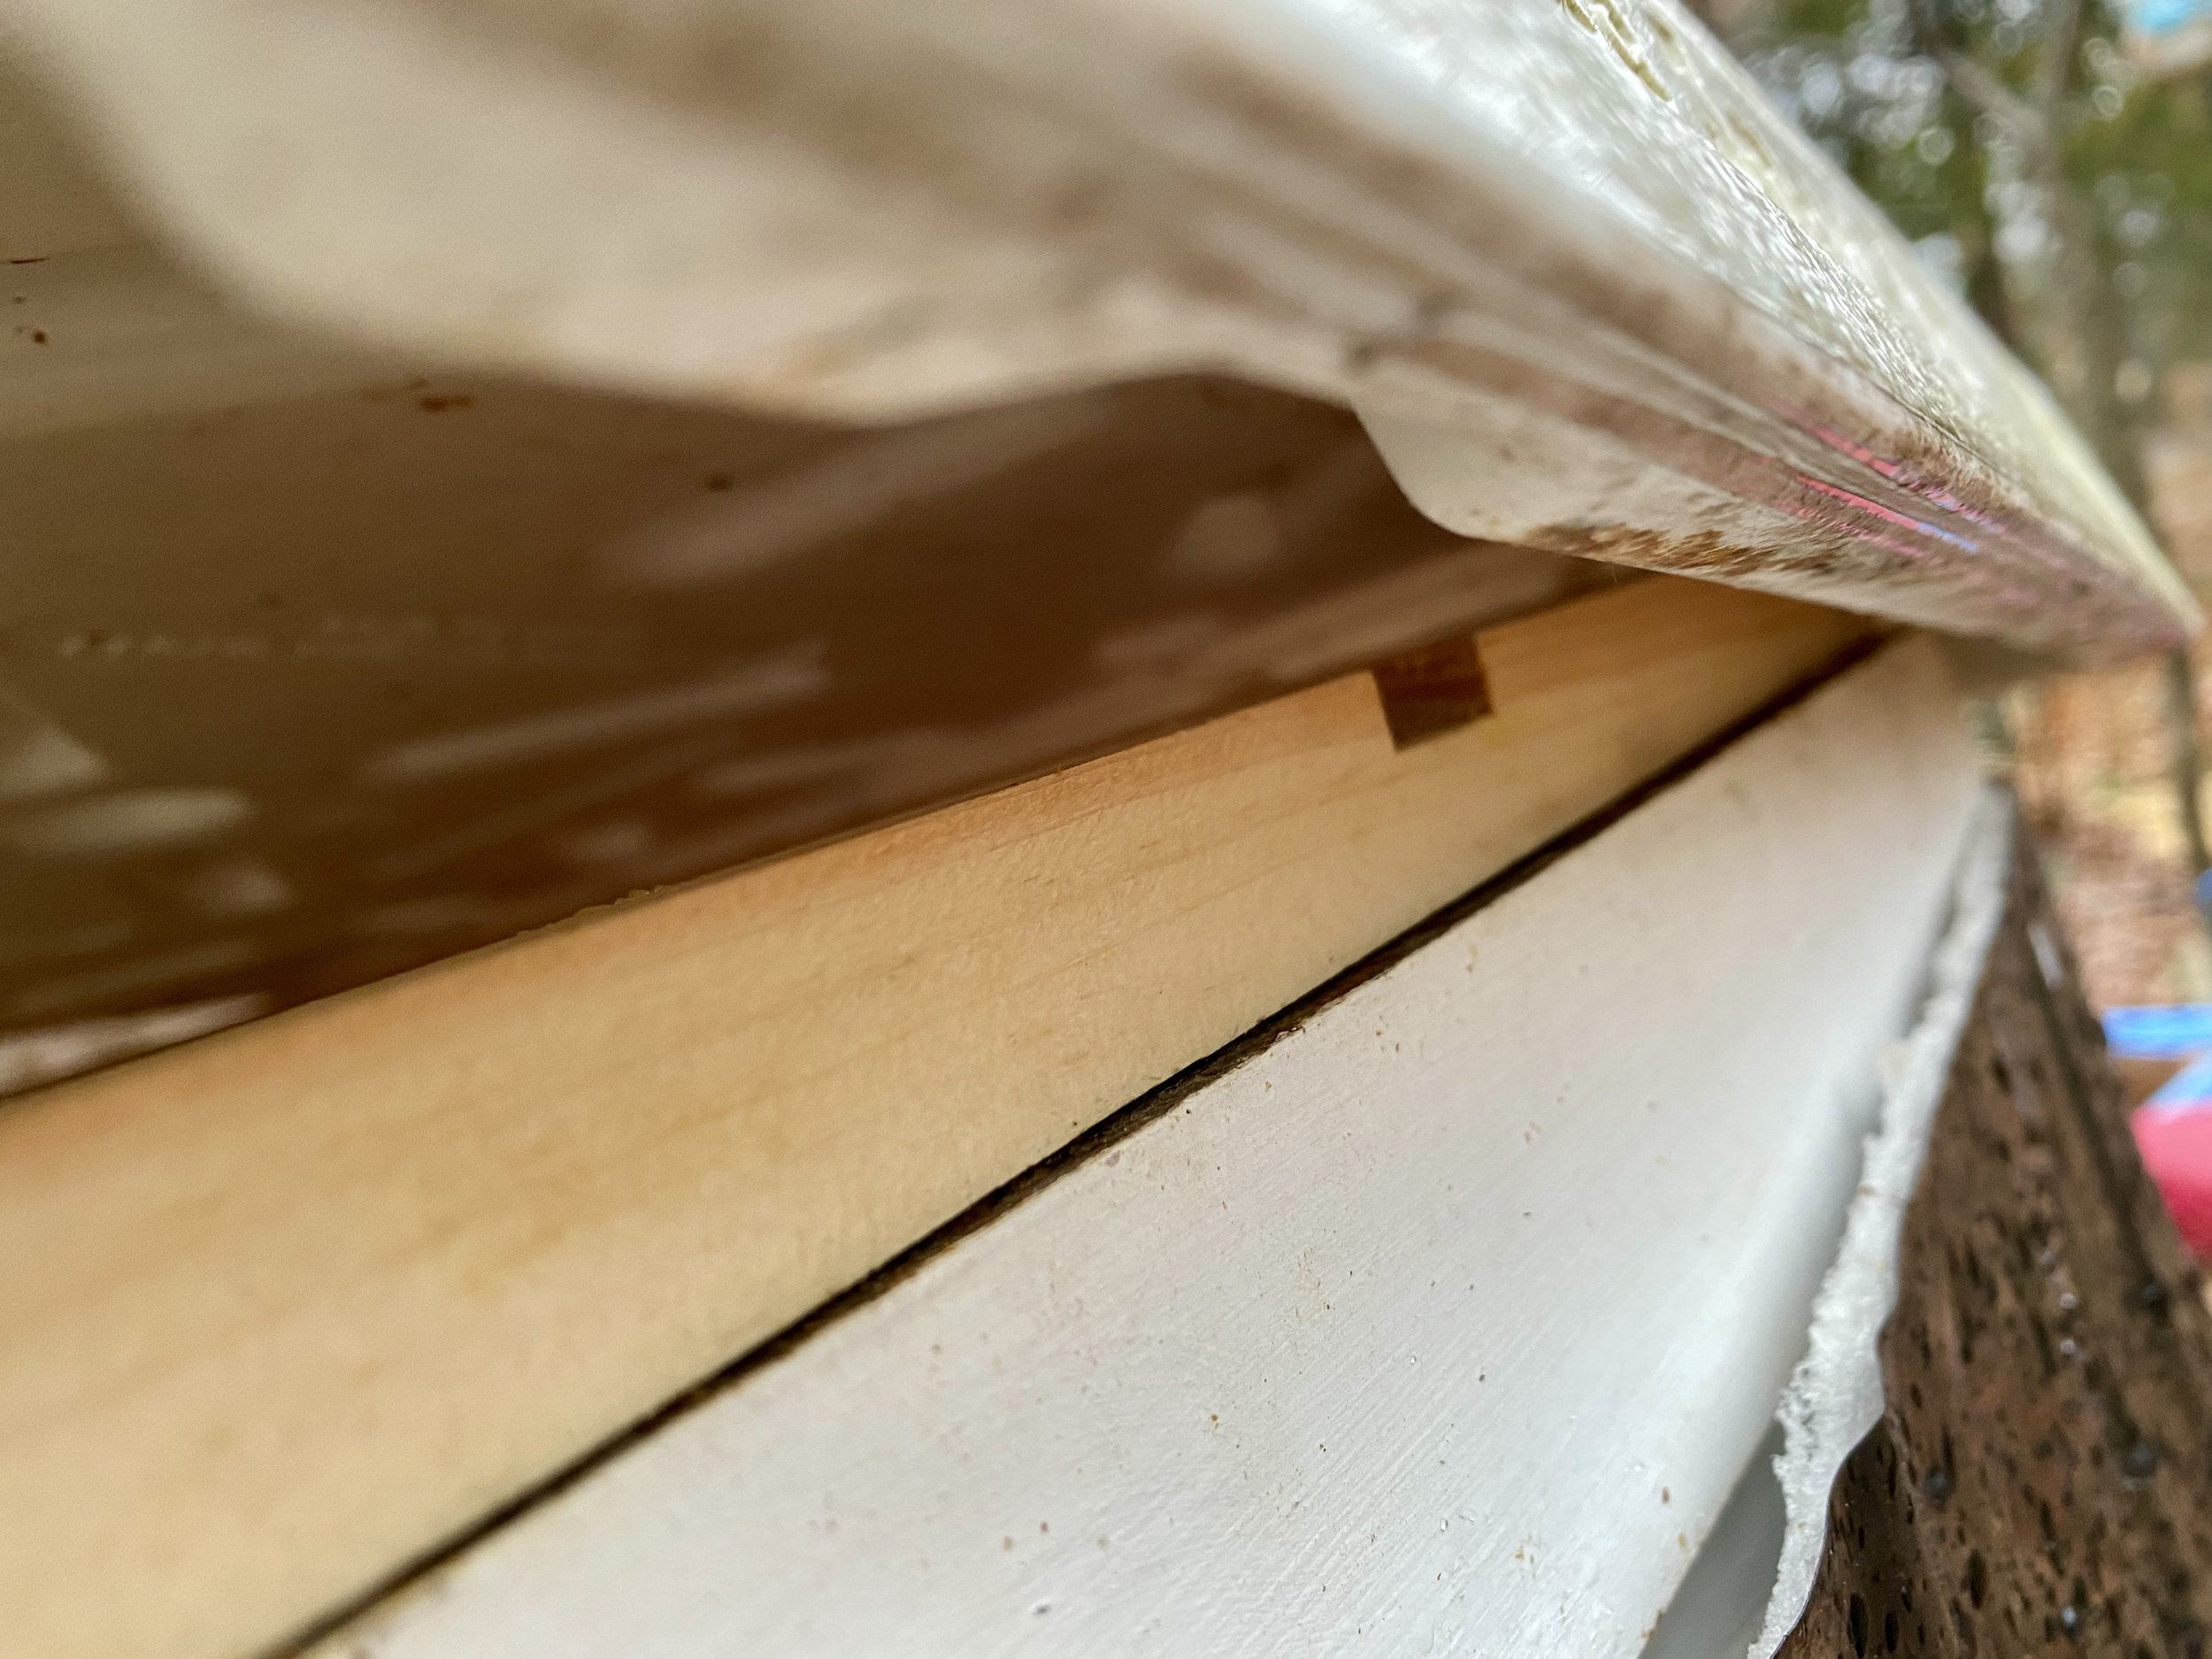
The notch on a hive inner cover sits under the outer cover. (Photo by Charlotte Ekker Wiggins)

Which Side Up?

Of all of the things in beekeeping that can confuse new beekeepers - and there’s a healthy list of confusing things - which way the notched inner cover sits on top of the hive is close to the top of the list.

The inner cover is a hive lid that sits under the hive outer cover. It usually has a hole in the center to help bees move air through the hive to keep it cool in summer. During winter, ice and snow can close up the hive entrance prohibiting bees from taking cleansing flights when temperatures allow.

For that reason, I like to use notched inner covers on my hives during winter. The two-bee space notch gives bees an alternate hive entrance and exit in the event snow blocks the bottom entrance.

The inner cover notch can serve as a top hive entrance. (Photo by Charlotte Ekker Wiggins)

Some inner covers are made without notches. If you don’t have one you can easily make one by removing a half inch of the inner cover border to create a notch.

Without the notch, bees may die caught between the lid and inner cover. (Photo by Charlotte Ekker Wiggins)

Without a top notch, bees can get caught between the inner cover and the lid and die.

Yes, they may still have access through the inner cover center hole to move back down into the hive but some don’t make it.

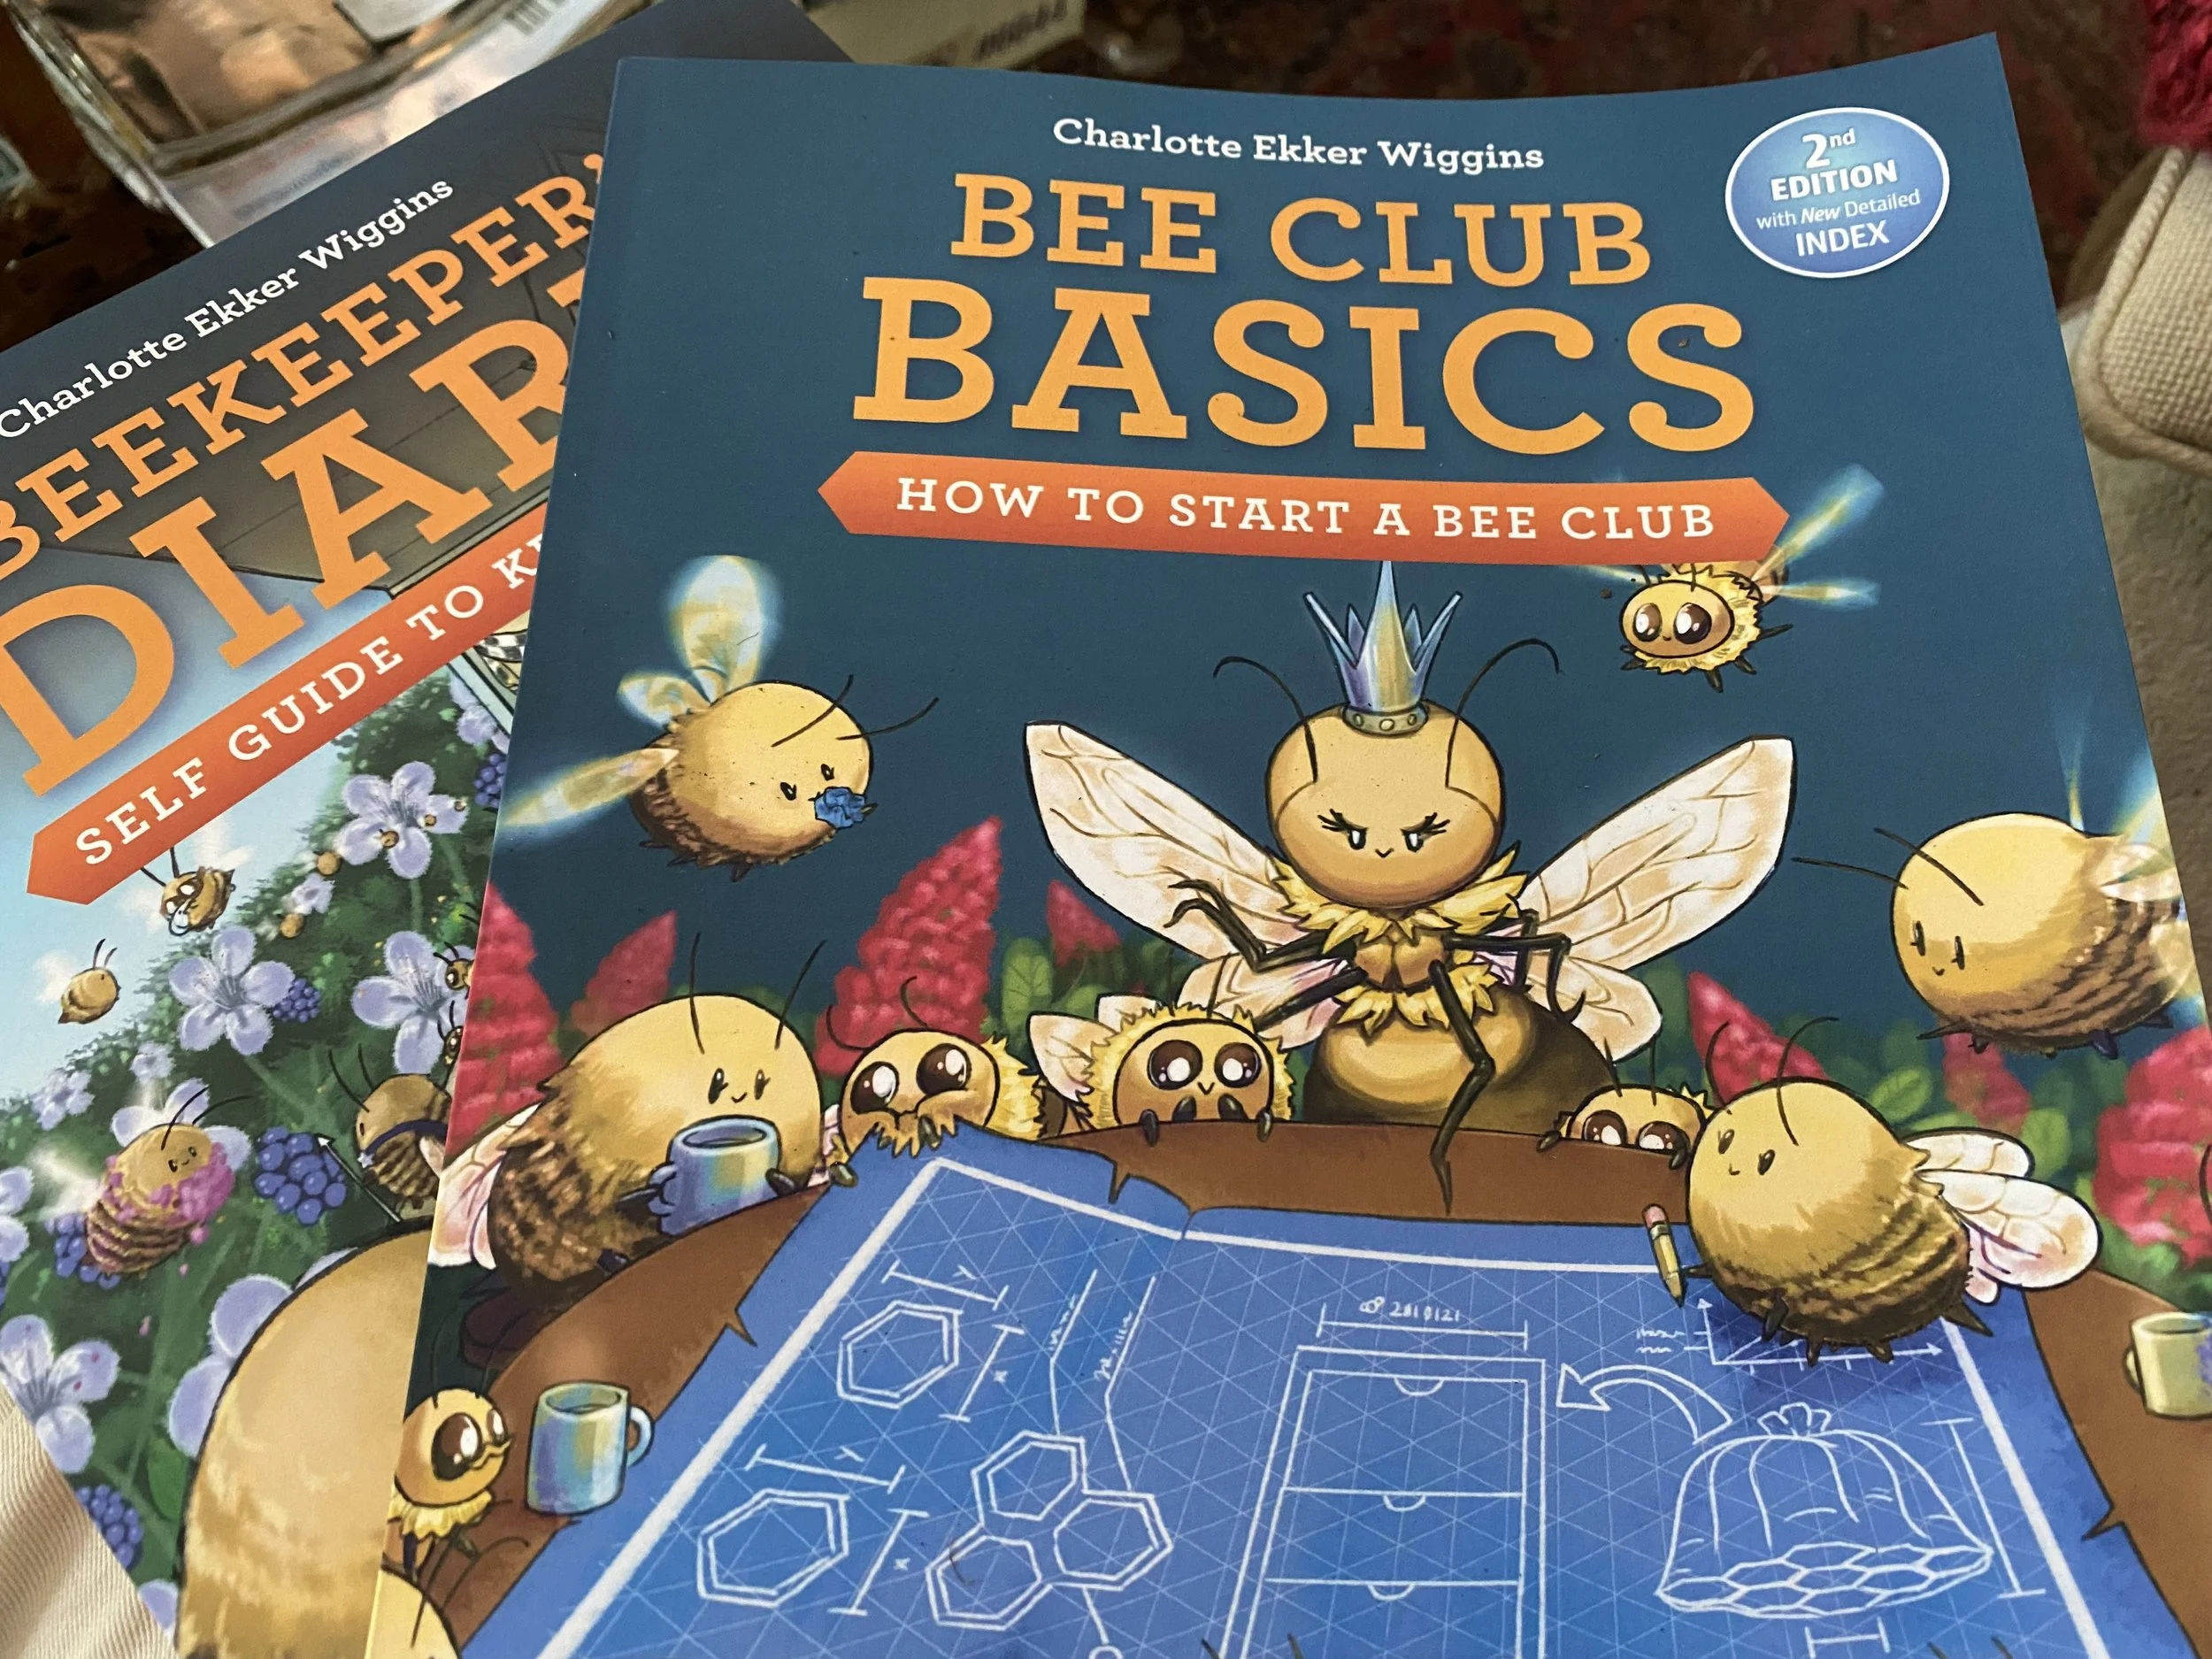
For more tips on beekeeping including how to start, get a copy of “A Beekeeper’s Diary Self-Guide to Beekeeping 2nd Edition.”

Charlotte

Putting A Lid On It

The Clauss Hive Done is designed to keep the hive temperature even. (Photo by Charlotte Ekker Wiggins)

The Clauss Hive Done is designed to keep the hive temperature even. (Photo by Charlotte Ekker Wiggins)

Putting A Lid On It

Beekeepers love gadgets, even more than the chefs and cooks I know. They are either making them or inventing them, and the Clauss Hive Dome is one such new invention. Made out of plastic, the dome is designed to help keep hive temperature even. Bees only keep the cluster, or all of bees, warm in winter. The dome evenly distributes the heat so the colony has warmth on all frames, encouraging earlier raising of brood or baby bees according to the inventor Gordon Clauss.

A super goes over the Clauss Hive Dome to secure it. (Photo by Charlotte Ekker Wiggins)

A super goes over the Clauss Hive Dome to secure it. (Photo by Charlotte Ekker Wiggins)

Now I have not used the Clauss dome over winter nor do I know anyone else who has. Bees overwinter by clustering, or balling up in the center of the hive keeping only the ball of bees warm, not the entire hive.

Before I researched the use of the Clauss Hive Dome, I thought I could use this as a temporary lid so visitors could see the bees on the frames. To be able to easily take the dome off and on, I would need to add a wood frame around the edge to keep it held down.

One of our students also has the idea of putting a hole in the center to add ventilation and then keep the bees from flying up. That defeats part of the observation of a hive, watching the bees, and would not be good to leave exposed for long or it would heat up the hive. The bees keep the hive temperature regulated on their own.

Interesting new beekeeping gadget.

Charlotte

Hive Tool Identification

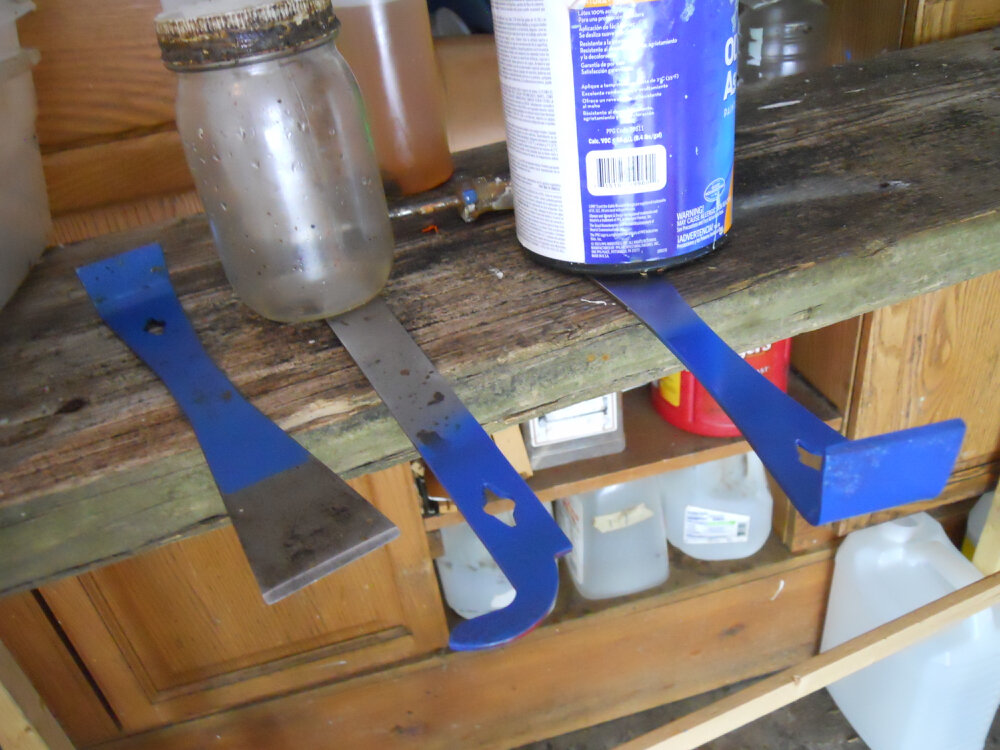
Pick a color to be able to quickly identify your hive tools. (Photo by Charlotte Ekker Wiggins)

Pick a color to be able to quickly identify your hive tools. (Photo by Charlotte Ekker Wiggins)

Hive Tool Identification

If you’re a beekeeper you are worse about loosing your hive tools than you are your garden trowel. Beekeeping hive tools are more slim and easier to slip out of a pocket. Hive tools, however, also disappear courtesy of other beekeepers who pick one up thinking it is their hive tool.

One easy way to keep hive tools separate is to paint yours. Mine are painted marine blue for Bluebird Gardens.

The process is easy. Once you decide on the color, get all hive tools ready for the paint.

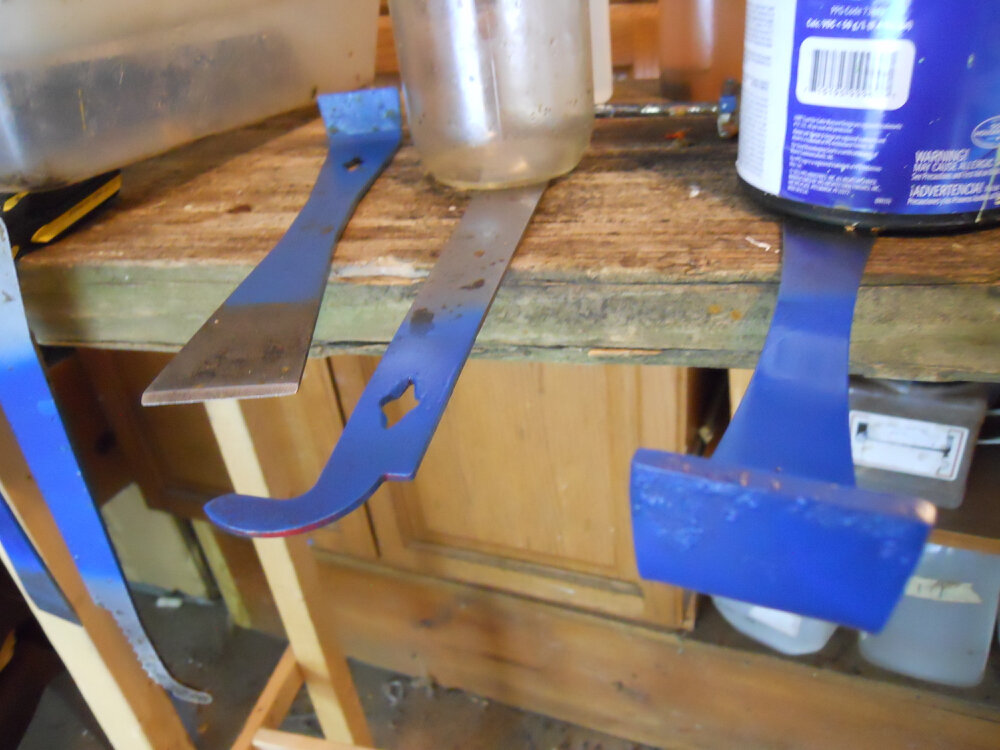
Let air dry to make sure the paint sticks. (Photo by Charlotte Ekker Wiggins)

Let air dry to make sure the paint sticks. (Photo by Charlotte Ekker Wiggins)

The hardest part of this was figuring out how to allow them to dry. I ended up painting one end, letting that end dry and then spray painting the other end.

It’s a small step but one that will help ensure you don’t keep losing your tools to other beekeepers!

Charlotte