Adding Screened Inner Cover
/This is a well-used screened inner cover with a one bee notch on one of the sides. (Photo by Charlotte Ekker Wiggins)
Adding a Screened Inner Cover
There are some basic beekeeping techniques every beekeeper needs to learn: how to handle a hive tool, how to treat a sting, and in my mind how to properly install an inner cover on a bee hive.
The inner cover fits in between a box of frames and the hive lid. It maintains the 3/8ths of a inch spacing bees like while helping to keep the colony warm in the case of a solid inner cover. For spring and summer, I like to use screened inner covers.
They not only allow more air through the hive but with them I can peek under the lid without bees rushing me.
How to place these inner covers, however, has been the subject of debate over the years. Which side goes on top, the deeper side or the side with the screen?
The small entrance in the side of the cover is designed to give the bees a top entrance into the hive. Based on that, the screened inner cover screen goes on top.
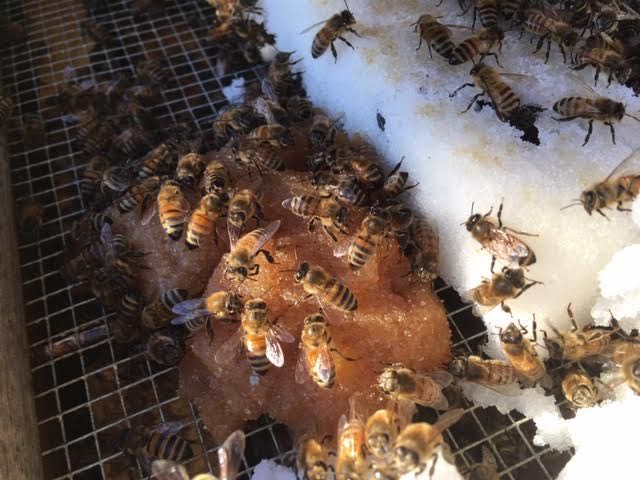
By placing the screen side on the top, bees won’t get caught between the screen and lid. (Photo by Charlotte Ekker Wiggins)
If you place the deeper side on top, bees will be attracted by the colony pheromone and get trapped in that one inch space between the screen and the hive lid.
The same applies for the solid inner covers, although some are the same depth of both sides, making a decision unnecessary.
These hive tools should help the colony, not hurt them!


